Learning to tile a bathroom wall is one of the most satisfying upgrades a beginner can make to their DIY skills. Tiling has an undeserved air of mystery, but strip it back and it is three simple disciplines repeated carefully: prepare the surface properly, plan the layout before any adhesive appears, and keep every row level. The tiles themselves do the rest — and a well-tiled bathroom wall looks professional, wipes clean, and shrugs off water for decades.
This step-by-step guide follows the full job in order: what you need, preparing the wall, setting out, fixing tiles, cutting around obstacles, and grouting and sealing to finish.
What You Will Need
Gather everything first — tiling punishes mid-job shopping trips. You will need: your tiles (buy 10% extra for cuts and breakages), tile adhesive (ready-mixed for small ceramic wall tiles; powdered cement-based adhesive for large or porcelain tiles and anywhere near a shower), a notched trowel, tile spacers (2–3mm for walls), a spirit level, a tile cutter (a score-and-snap cutter handles most straight cuts; a small electric wet cutter makes life easier), a grout float and sponge, grout (mould-resistant for bathrooms), silicone sealant and a sealant gun, a tape measure, pencil, bucket, and a batten of straight timber. Safety: gloves and eye protection when cutting.
Step 1: Prepare the Wall
Tiles are only as sound as what they stick to. The wall must be clean, dry, flat and stable. Strip wallpaper completely (tiles will not hold on paper), wash off grease and soap residue around baths and showers, and fill holes and deep cracks. Fresh plaster must be fully dry — allow roughly a week per 5mm of thickness — and porous surfaces like new plaster or plasterboard should be primed with tile primer (never PVA, which can fail when wet) so the adhesive does not dry out before it bonds. Check the wall with a long straight edge: bumps bigger than a few millimetres telegraph straight through large tiles, so level significant humps now, not with adhesive later. In shower areas, the surface behind the tiles should be water-resistant board or tanked — tiles and grout alone are water-shedding, not fully waterproof.
Step 2: Plan the Layout (The Step That Makes It Look Pro)
Never start tiling from a corner or the floor and hope. Walls are rarely square and floors rarely level, so a layout planned by eye ends with a sliver of tile in the most visible place. Instead:
- Find your starting line: measure up from the bath edge, worktop or floor by just under one tile’s height and draw a perfectly level line (spirit level, not the floor). Fix a straight timber batten along this line — your first row sits on it, guaranteeing every row above is level even if the bath is not.
- Centre the run: mark the wall’s centre and dry-lay or measure the tiles outwards, so any cut tiles land equally at both ends. You want cuts wider than half a tile where possible; adjust the centre point slightly if the maths gives you slivers.
- Plan around features: think about how tiles meet windows, mirrors and the shower head. A layout that looks balanced around the room’s focal points is what separates professional results from lucky ones.
Step 3: Fixing the Tiles
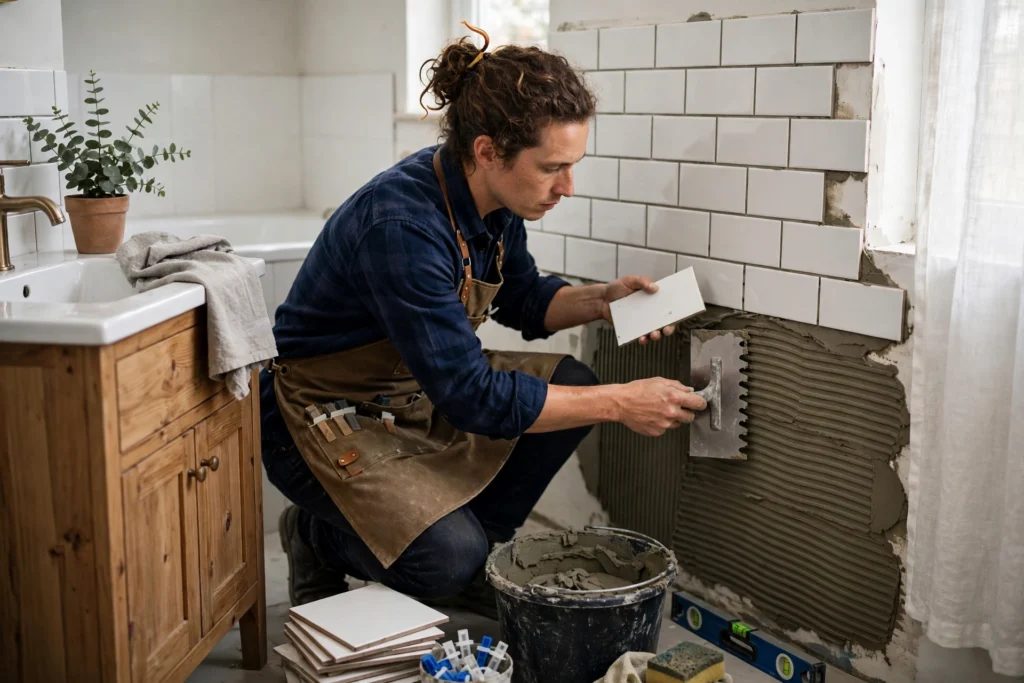
Spread adhesive over about a square metre at a time with the notched trowel, holding it at roughly 45 degrees so the ridges are even — those ridges collapse under the tile to give full, void-free coverage. Press each tile into place with a slight twist, check it sits flush with its neighbours, and insert spacers as you go. Work in rows from your batten line upwards, checking level and alignment every few tiles, and wipe adhesive off tile faces immediately with a damp sponge — dried adhesive is miserable to remove. Check regularly from across the room; errors are visible early and correctable while the adhesive is fresh, which is precisely why you work a small area at a time.
Step 4: Cutting Tiles
Measure each cut individually — walls drift out of square, so the gap at the top of a column is rarely the same at the bottom. For straight cuts, score the glazed face firmly once with the cutter wheel, then snap cleanly over the bar. For L-shapes and notches around pipes and sockets, mark the tile, cut with a wet saw or tile file, and nibble carefully with tile nippers. Always cut with the visible face up on a score-and-snap cutter, sand sharp edges smooth with a tile file, and turn power off and isolate sockets before tiling anywhere near them — sockets in tiled areas are a job for an electrician if they need moving, not a tiling shortcut.
Step 5: The Bottom Row and Edges
When the main field has set (usually the next day), remove your batten and fit the bottom row, each tile cut individually to meet the bath, tray or floor. This row absorbs all the unevenness your batten protected you from — which is the entire point of starting one row up. Finish exposed edges with tile trim for a clean, professional line, mitred at corners if you are feeling precise.
Step 6: Grouting and Sealing
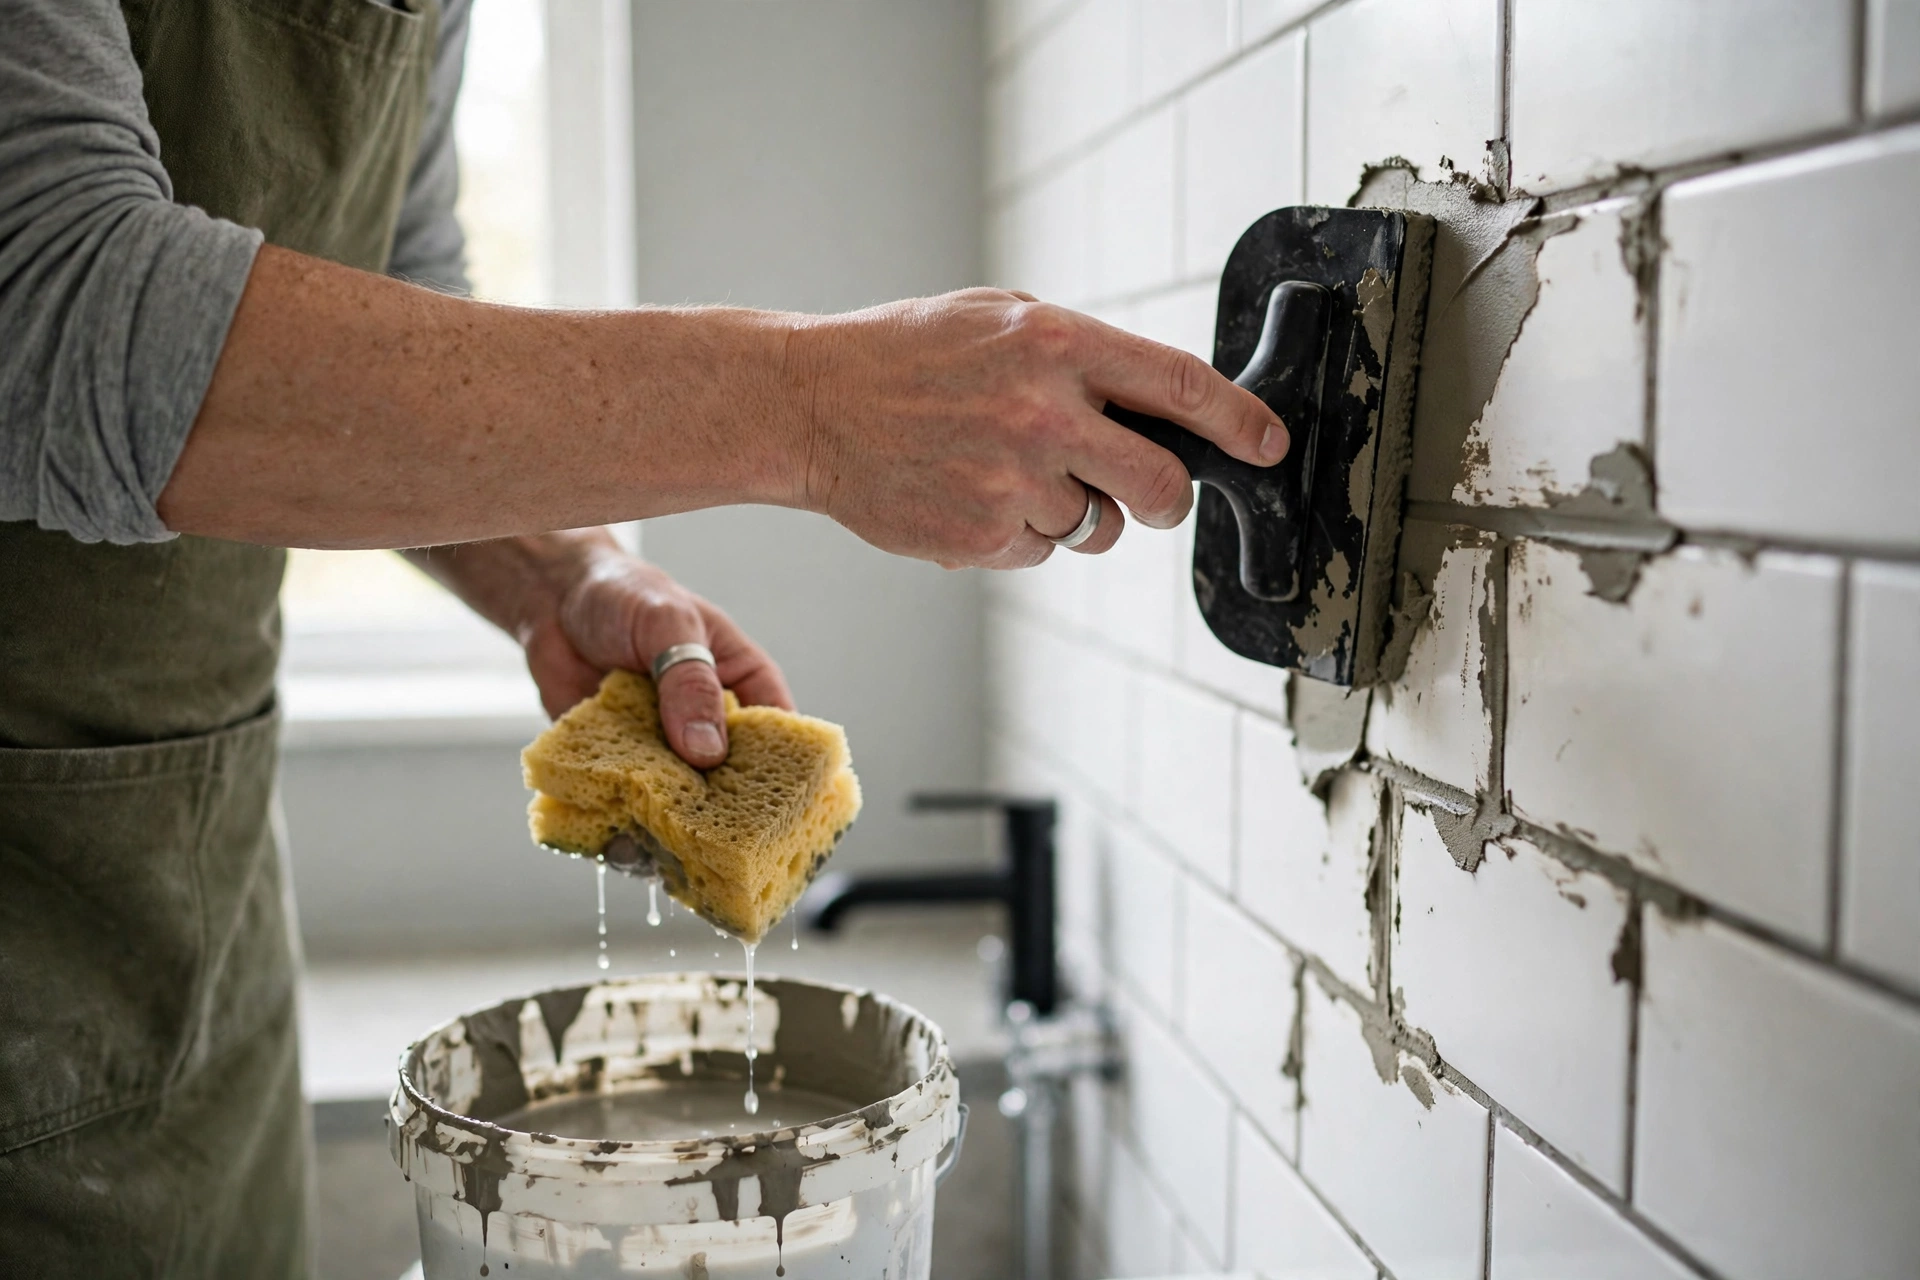
Wait until the adhesive has fully cured (check the tub — typically 24 hours). Mix grout to a toothpaste consistency and press it into every joint with the float at 45 degrees, working diagonally so you do not drag it back out. After 15–20 minutes, when it has firmed, wipe the tiles with a barely-damp sponge, rinsing constantly, and polish off the final haze with a dry cloth once dry. Leave internal corners, the bath edge and any junction between different materials ungrouted — those get flexible silicone sealant instead, because movement joints crack rigid grout, and cracked grout is how water gets behind tiles. Run a neat silicone bead, smooth it with a wet fingertip or profiling tool, and let it cure before the shower’s first use.
The Bottom Line
Tile a bathroom wall well by spending your effort before the adhesive comes out: a sound, primed wall, a level batten, and a layout centred on the room. Fix carefully a square metre at a time, cut each edge tile to its own measurement, then grout fully and seal the movement joints with silicone. Do that, and your first tiled wall will look like your fifth.
Frequently Asked Questions
Can I tile over existing tiles?
Yes, if the existing tiles are firmly bonded (tap them — hollow sounds mean loose tiles that must come off), clean and degreased, and the extra thickness does not foul fittings. It saves a day’s demolition, but starting from a sound bare wall is always the more reliable option.
What size spacers should I use on bathroom walls?
2mm or 3mm is standard for wall tiles and suits most ceramics. Rectified (precision-edged) tiles can go tighter; rustic handmade-style tiles need wider joints to absorb their size variation.
How long before I can shower after tiling?
Allow the adhesive its full cure (usually 24 hours), grout, then let grout and silicone cure — typically another 24–48 hours before regular shower use. Check the products’ instructions; rushing this is how water gets behind new tiles.
Why should corners be silicone, not grout?
Corners are movement joints: walls and baths expand, contract and flex slightly. Rigid grout cracks there and lets water in; flexible silicone moves with the joint and stays sealed. It is a small detail that prevents the most common bathroom tile failure.