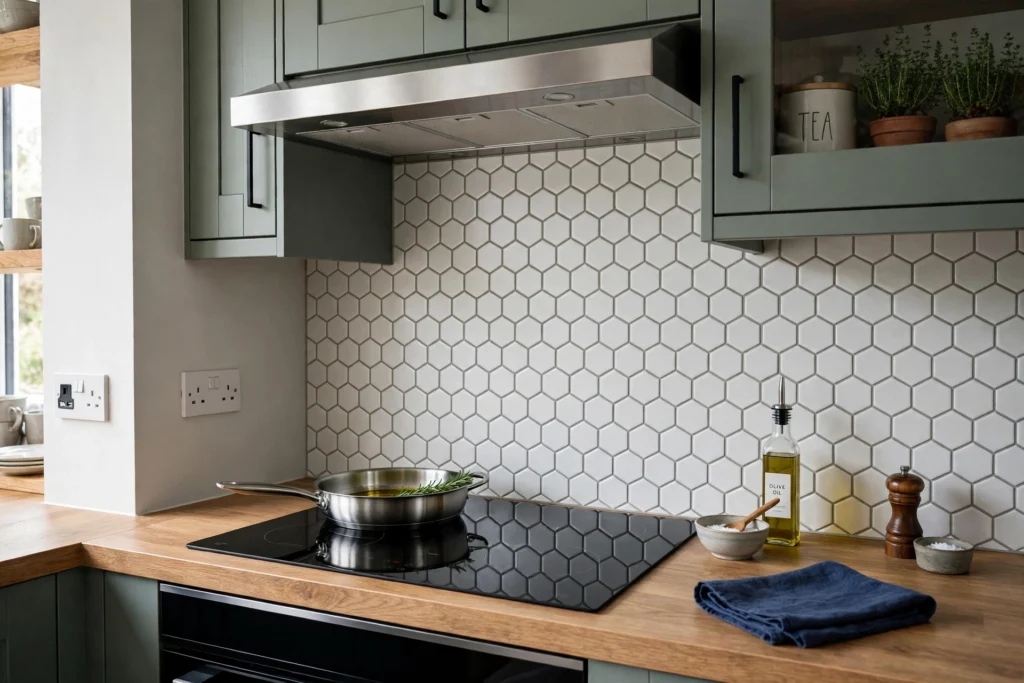
A kitchen splashback is the ideal first tiling project: the area is small, the wall is usually flat, and the rows are short enough that mistakes are easy to spot and correct before the adhesive sets. Most splashbacks cover just one to three square metres, tiled 60 to 75cm up from the worktop behind a hob. Yet the difference between a professional finish and a visibly homemade one rarely comes down to cutting skill. It comes down to setting out — where the first tile goes decides where every cut lands. This guide covers tools, measuring, setting out, fixing, cutting and grouting in order. If the tiling is part of a wider refresh, our guide to painting kitchen cabinets covers the cupboard side of the same job.
Tools and Materials You Will Need
Gather everything before mixing any adhesive, because it skins over within about 20 to 30 minutes of spreading. You need: tiles plus extra for cuts (see below), wall tile adhesive, grout, a 6mm notched trowel, 2mm tile spacers, a spirit level, tape measure and pencil, a score-and-snap tile cutter for straight cuts, a tile file for cut edges, a grout float, sponge and bucket, matching silicone sealant, masking tape and safety glasses. Powdered adhesive you mix yourself is cheaper than ready-mixed tubs and sets more reliably near hobs; mix to the consistency of thick peanut butter, so it holds the trowel’s ridges without slumping. Choose a manageable tile size: a standard 10x20cm or 15x15cm ceramic tile is the forgiving choice, while large-format tiles mean harder cuts and mosaics are fiddly to keep level.
Measuring Up and Ordering Enough Tiles
Measure the length of each run and the height from worktop to the underside of the wall units, then multiply for the area: a 3m run tiled 60cm high is 1.8 square metres. Divide by one tile’s area — a 10x20cm tile covers 0.02 square metres, so 90 tiles here — then add at least 10 per cent for cuts, breakages and the tile you will drop on a hard floor; layouts with several sockets justify 15 per cent. Order everything in one go and check the batch numbers on the boxes match, because different production batches of the same tile can vary slightly in shade. Note every socket, switch and corner while measuring: each means cuts, and the cuts decide your setting out. Finally, check the worktop with a long level: on older houses it, not the wall, is often what slopes, and the tiling must follow its line or the bottom gap will visibly wander.
Setting Out: The Step That Makes or Breaks the Job
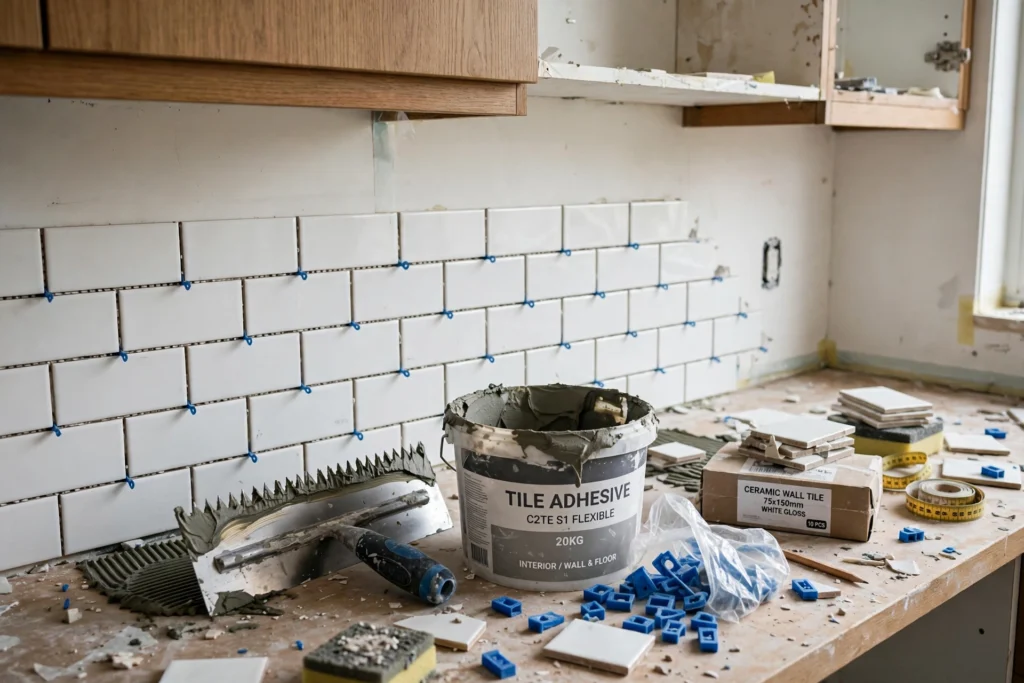
Setting out means choosing where the first tile sits so edge cuts are balanced and no sliver cuts appear. Slivers — cuts narrower than about a third of a tile — look awful, chip easily and fix poorly. Horizontally, mark the centre of the run and measure outwards to see what size of cut falls at each end; if an end cut would be a sliver, shift the layout half a tile so a grout joint, not a tile centre, sits on the middle mark. Vertically, work out the height in whole tile-plus-joint units so you do not finish with a thin strip under the wall units. Then screw a straight timber batten to the wall along the line of the second row up, checked dead level. Tile upwards off the batten and the rows stay straight even if the worktop slopes; fill the bottom row last, cutting each tile to fit, which hides any wander in the cuts rather than in the grout lines. Before opening the adhesive, dry-lay a row on the worktop to rehearse socket positions and end cuts.
Preparing the Wall and Fixing the Tiles
Tiles stick to clean, sound, matt surfaces — not to grease, gloss paint or flaking plaster. Scrub the wall with sugar soap, rinse and let it dry fully; walls behind hobs carry an invisible grease film that adhesive will not grip. Key glossy paint with coarse sandpaper, and seal porous new plaster with tiling primer or diluted PVA so it cannot suck moisture from the adhesive before it sets. Turn the power OFF at the consumer unit before touching sockets: loosen the faceplates and tile behind their edges, refitting with longer screws, rather than cutting tightly around a fixed plate. Spread adhesive, then comb it with the notched edge at about 45 degrees to leave even ridges, working in sections of roughly half a square metre. Press each tile in with a slight twist, slot spacers between tiles, and check levels across faces and along rows every few tiles. Wipe adhesive off the glaze as you go. Working in this zone is also the natural moment for neighbouring jobs — our guide to replacing a kitchen tap covers that one, best done before tiling so splashes and sealant work happen on old surfaces, not new grout.
Cutting, Grouting and Sealing
For straight cuts, a score-and-snap cutter is fastest: mark the glaze, score once firmly along the rail — one confident score beats several timid ones — and snap with steady pressure. A wet diamond cutter earns its hire fee on porcelain tiles and L-shaped cuts around sockets, and produces far less dust; smooth exposed cut edges with a tile file. Around sockets, mark the cut-out from the faceplate position with the power isolated throughout, and finish so the tile edges tuck behind the plate. Leave adhesive at least 24 hours before grouting. Press grout into the joints with the float held diagonally, wipe excess with a damp — not wet — sponge once it firms, and polish the haze off with a dry cloth next day. The one joint that must NOT be grouted is the junction with the worktop: it moves, so grout cracks. Fill it instead with a neat bead of flexible silicone, smoothed with a wet finger, and silicone the internal corners too.
Frequently Asked Questions
How long does a kitchen splashback take to tile?
A typical short run takes a beginner a comfortable day: an hour of setting out and prep, two to three hours fixing tiles, then an hour’s grouting the following day once the adhesive has cured. Rushing the curing gaps is the commonest cause of tiles slipping or grout failing.
Can I tile over existing tiles?
Yes, if the old tiles are sound, firmly bonded and thoroughly degreased, using adhesive rated for tile-on-tile. Check the extra thickness will not foul sockets or the hob. Loose or hollow-sounding tiles must come off first — tiling over them just inherits the failure.
What is the biggest mistake beginners make?
Starting in a corner and tiling across, which pushes all the accumulated error to one end and leaves a sliver cut in the most visible spot. Setting out from the centre, working off a level batten and doing a dry layout first avoids it entirely.
Do I grout or silicone between the splashback and the worktop?
Silicone, always. Grout is rigid and that junction moves slightly with heat and use, so it cracks and lets water behind the tiles. A flexible silicone bead stays waterproof; renew it every few years when it discolours or lifts.