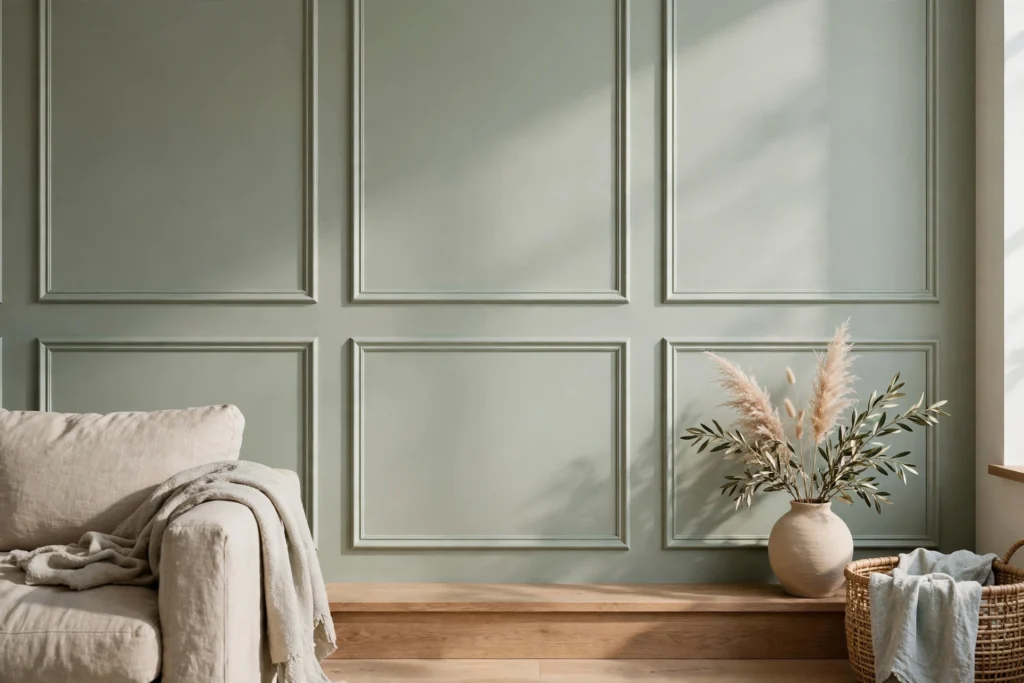
DIY wall panelling has become the upgrade everyone recognises: a plain flat wall, transformed into something that looks architectural, characterful, and far more expensive than it was. The good news is that it is genuinely beginner-friendly — the materials are cheap, the tools are basic, and the technique is mostly patience. The bad news is that panelling exposes every shortcut: uneven spacing, wobbly cuts, and rushed paint are visible from across the room. Here is how to do it properly.
Choose Your Style and Material
Start with the style. Shaker-style panels — simple rectangles of MDF strips on the wall — suit almost any home and are the easiest for beginners. Beadboard or tongue-and-groove gives a cottage feel. Picture-frame moulding — slim decorative strips forming rectangles — looks more formal. For most first-timers, MDF is the right material: cheap, stable, easy to cut, and it paints beautifully. Use 6–9mm MDF strips for the frames and a matching dado rail or skirting if your design needs one. One warning: MDF dust is harmful — always cut it outdoors or in a ventilated space, wearing a proper dust mask, and seal cut edges with primer before painting.
Step 1: Measure Like Your Finish Depends on It
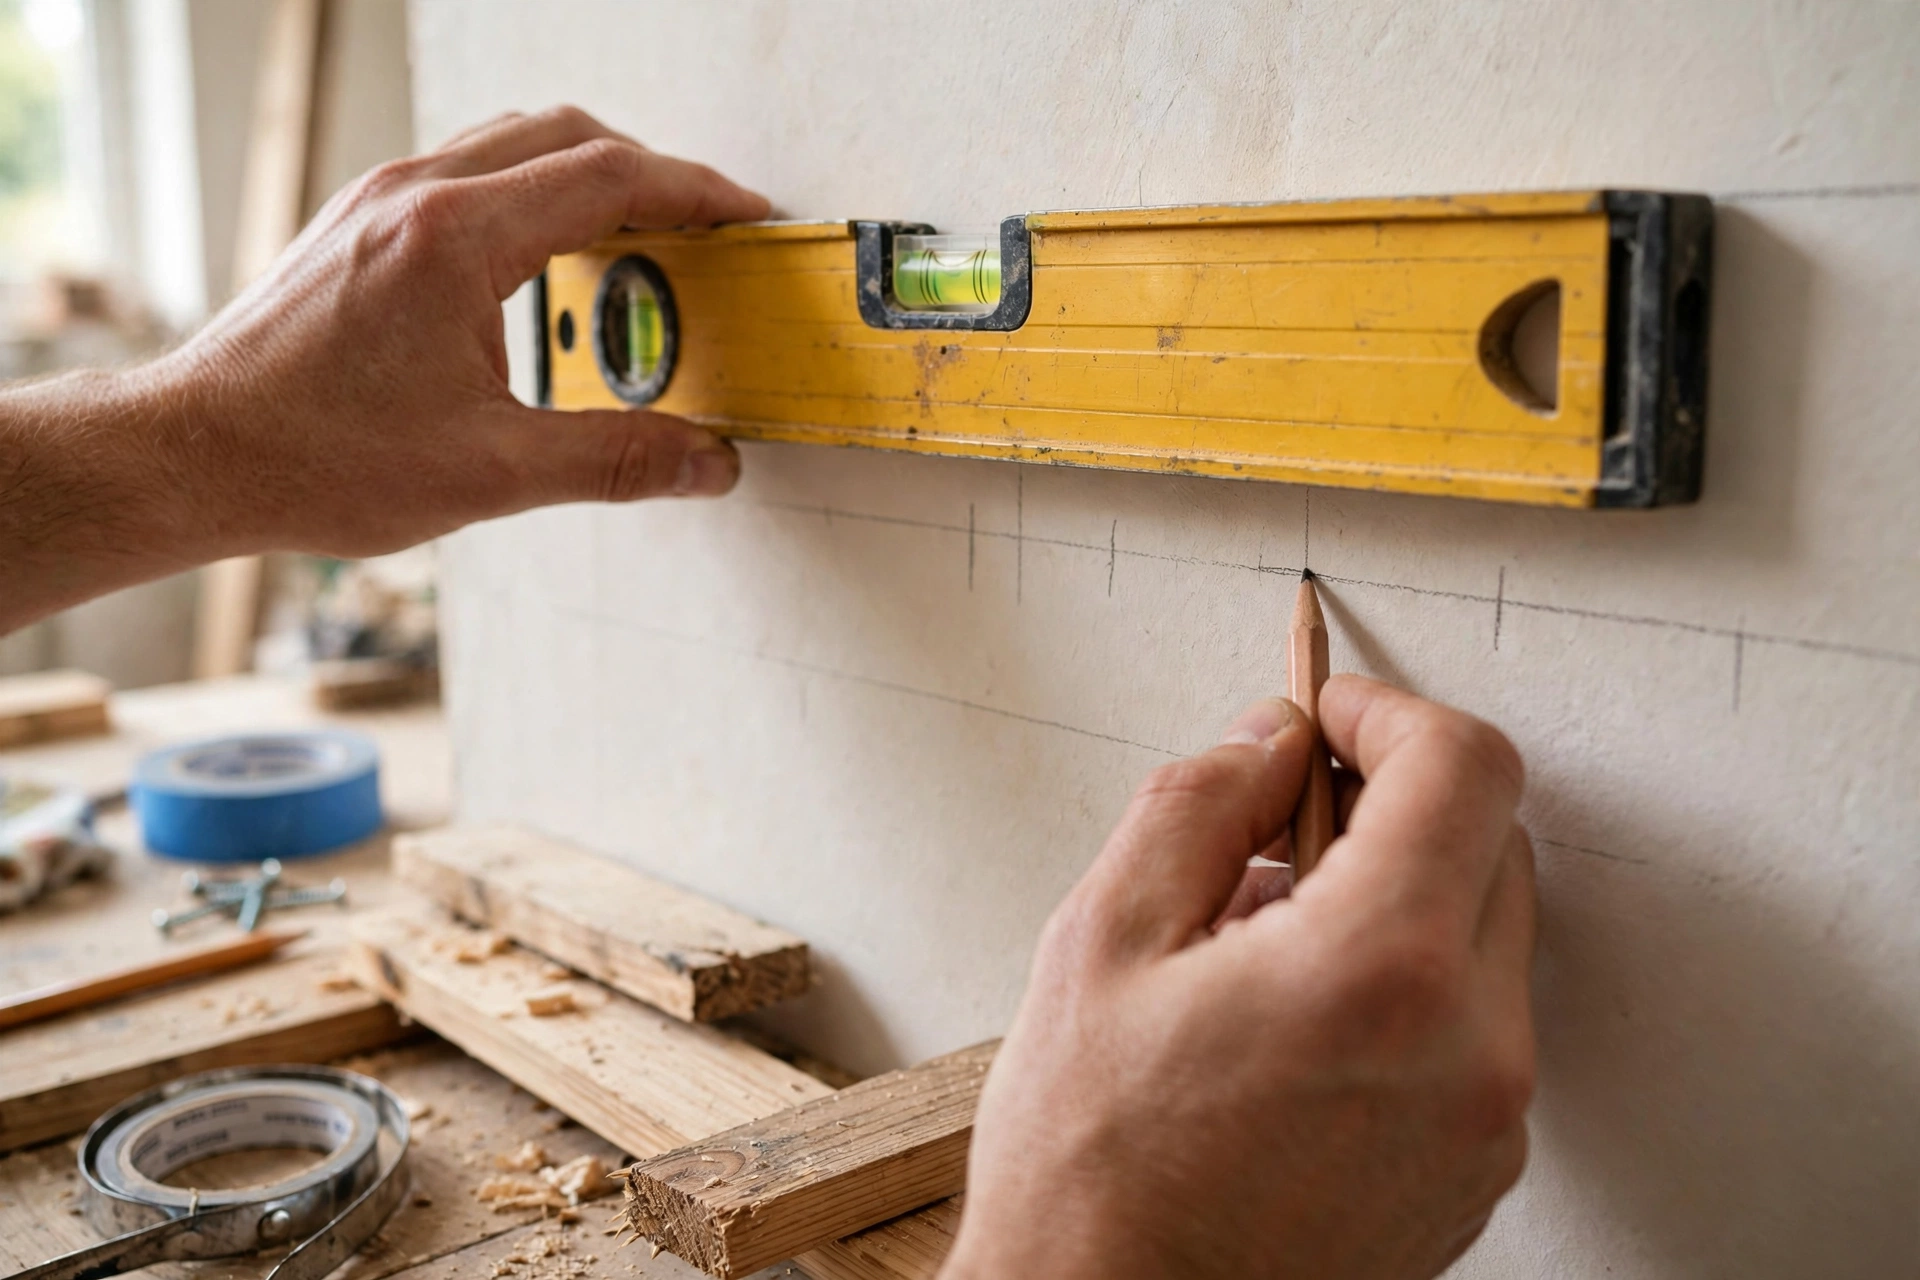
Because it does. Measure the wall’s width and height, then plan your panel layout on paper before cutting anything: aim for equal spacing between panels and equal margins at the edges, and make sure panels are centred — a wall where the end panels are visibly narrower than the middle ones is the classic giveaway of a rushed job. Mark the layout on the wall lightly in pencil, and use a spirit level for every vertical and horizontal line; walls are rarely perfectly straight, so check with the level rather than trusting the skirting or ceiling. A little maths here saves hours of regret later.
Step 2: Cut, Fix and Fill
Cut your MDF strips with a fine-tooth saw (a mitre saw is ideal; a handsaw with a mitre box works too) and sand every cut smooth. Fix the strips to the wall with a combination of grab adhesive and panel pins — adhesive alone can slip while it sets, pins alone can split thin MDF — and check the level again as you go. Once everything is fixed, fill every pin hole and joint with wood filler, let it dry fully, and sand it flush. This filling step is the one beginners skip and professionals never do: unfilled pin holes show through paint as tiny craters, and unfilled joints crack. Two rounds of fill-and-sand, if needed, are worth it.
Step 3: Paint for the Professional Finish
Painting is where panelling is won or lost. First, prime everything — MDF drinks paint, and unprimed MDF will give a patchy, rough finish no matter how many topcoats you apply. Use a primer designed for MDF, then two topcoats of a durable eggshell or satin paint (matt shows marks; gloss shows every flaw; eggshell is the sweet spot for most walls). Apply with a small foam roller for flat areas and a brush for edges, and sand very lightly between coats with fine-grit paper. Resist the urge to rush the drying times printed on the tin — a second coat applied too soon will drag and texture. Done patiently, the result is a wall that looks fitted by a joiner.
The Bottom Line
DIY wall panelling works when you respect three things: careful measuring, clean fixing and filling, and patient painting. The materials for a single wall often cost less than a hundred pounds, the tools are ones most homes already own, and the result transforms a room. Measure twice, cut once, fill everything, and let the paint dry — and your panelling will look like it was always part of the house.
Frequently Asked Questions
What is the best material for DIY wall panelling?
MDF is the best choice for most beginners: it is cheap, stable, easy to cut and paints to a smooth finish. Use 6–9mm strips for Shaker-style panels, seal cut edges with primer, and always wear a dust mask when cutting or sanding it.
How much does DIY wall panelling cost?
For a single feature wall, materials (MDF strips, adhesive, pins, filler, primer and paint) typically cost well under £100 if you already own basic tools. A mitre saw is the only tool worth borrowing or buying if you do not have one.
Do I need to remove skirting boards before panelling?
Not necessarily. Many designs sit above the skirting or incorporate it as the bottom rail of the panels. If your design runs to the floor, removing and refitting the skirting gives a cleaner finish — but it adds work, so plan the design around your skirting where possible.
Why does my panelling look uneven after painting?
Almost always one of three causes: panels that were not levelled, pin holes or joints that were not filled and sanded, or paint applied over unprimed MDF. All three are fixable — fill, sand, prime and repaint, and the finish will transform.