A dripping tap is more than an annoyance. A tap dripping once a second can waste thousands of litres of water a year — water you are paying for twice if you are on a meter. The good news: learning how to fix a dripping tap is one of the most satisfying beginner plumbing jobs there is. Most drips are caused by a worn rubber washer or a scaled-up cartridge, and either fix usually takes under half an hour.
Before You Start: Water Off, Tools Ready
First, turn off the water to the tap. Many sinks and baths have an isolation valve on the pipe below — a small valve you turn with a screwdriver. If not, close the main stopcock (usually under the kitchen sink or where the supply enters the house), then open the tap to drain what is left in the pipe. Put the plug in the sink — every dropped screw and washer makes straight for the plughole — and lay a towel down to protect the basin.
You will need: an adjustable spanner, flathead and crosshead screwdrivers, a cloth, and the replacement part. Traditional taps use rubber washers (a mixed pack costs very little); modern mixer taps usually use ceramic cartridges, which are brand-specific — take the old one with you to the shop, or photograph it, to match it exactly.
Step 1: Remove the Tap Head
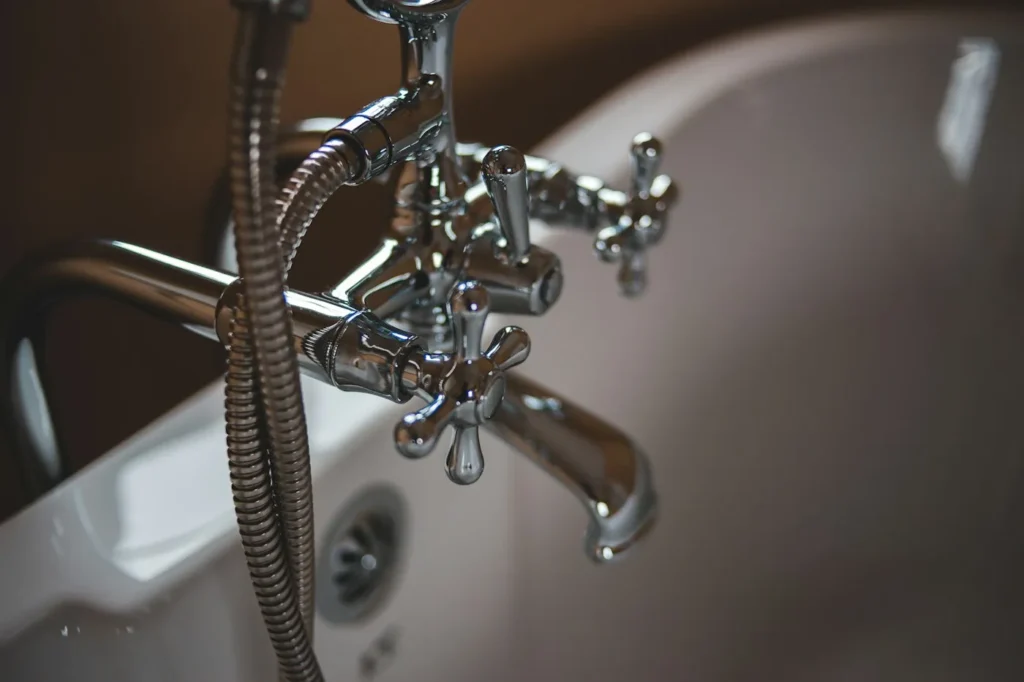
On most taps, the handle either pulls off or is held by a small screw hidden under the cap on top (prise the cap off gently with a flathead screwdriver) or at the back. Undo it and lift the head away. On pillar taps you will then see the tap body; the headgear — the working part — unscrews from it. Wrap the spanner jaws in cloth to protect the chrome, grip the headgear, and turn anticlockwise. It may be stiff; steady pressure beats force.
Step 2: Replace the Washer (Traditional Taps)
At the bottom of the headgear you will see the washer, held by a small nut or a pin. It will probably look flattened, cracked or rock hard — that is your drip. Remove it, fit the new washer of the same size, and reassemble. While the tap is apart, wipe the valve seat inside the tap body clean; grit or limescale there lets water creep past even a new washer. Screw the headgear back in firmly (not brutally), refit the handle, and skip to the testing step.
Step 3: Replace the Cartridge (Mixer Taps)
On lever and mixer taps, the handle lifts off (often with one grub screw loosened by an Allen key) to reveal the cartridge, held by a retaining nut or screws. Note the cartridge’s exact position and orientation — a quick phone photo saves guesswork — then remove it, slot the new one in identically, and refit the nut and handle. Cartridges are rarely repairable, but they are designed to be swapped exactly like this.
Step 4: Turn the Water On and Test
Close the tap, turn the water back on slowly, and check around the base and spindle for leaks as the pressure returns. Open and close the tap a few times. A fixed tap shuts off cleanly with no drip after a few seconds. If it still drips, the valve seat may be worn or scored — a seat-grinding tool can resurface it, but at that point on an old tap, many people sensibly choose a new tap instead.
When to Call a Plumber Instead
Call a professional if the stopcock itself will not turn or leaks, if pipes are corroded, if the tap body is cracked, or if the leak is under pressure somewhere you cannot isolate. Water damage costs far more than a callout. And if this repair has given you the bug, it sits happily alongside the other starter jobs in our list of DIY home projects for beginners.
The Bottom Line
Knowing how to fix a dripping tap saves water, money and the slow torture of that nighttime drip. Turn the water off, find the washer or cartridge, replace it like for like, and test under pressure. Thirty minutes of work, years of silence. More practical guides live in our home improvement ideas.