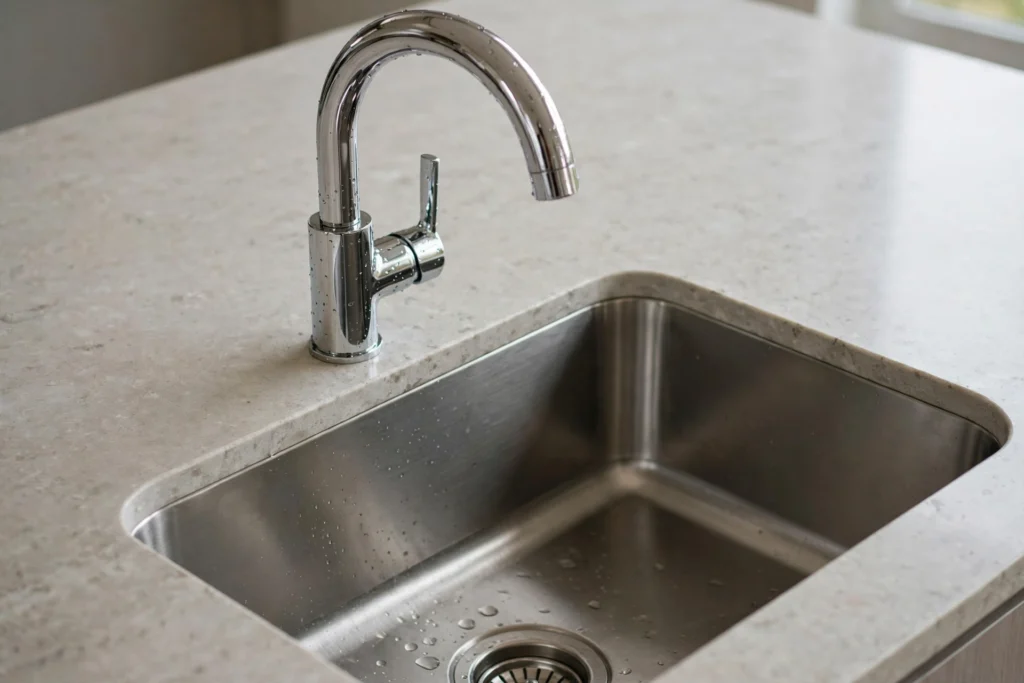
How to replace a kitchen tap is the rare DIY job that is genuinely beginner-friendly, genuinely cheap, and genuinely transformative: a tired, dripping tap swapped for a smart new one in an hour or two, with no wall opened and no specialist tool you cannot borrow. The secret is that almost everything happens in one accessible place — under the sink — and the job is mostly undoing and redoing a handful of connections. Here is the whole job, step by step.
Choose the Right Tap First
Before you buy, check three things. First, the holes: most kitchen sinks have one or two tap holes — a single-lever mixer needs one, a separate hot-and-cold pillar pair needs two, and a bridge mixer needs two at a set spacing. Measure the spacing if you have two holes. Second, the pressure: if your home has low water pressure (a gravity-fed tank in the loft rather than a combi boiler), choose a tap rated for low pressure, or the flow will disappoint — the tap’s spec sheet states its minimum pressure. Third, the connections: modern taps use flexible hoses with standard fittings, but older plumbing may have copper tails; a quick photo of the underside of your sink at a plumbers’ merchant will get you the right adaptors. Buy new isolation valves too if yours are seized — they cost little and make future jobs easy.
Isolate the Water and Remove the Old Tap
Turn off the water to the tap: use the isolation valves under the sink if you have them (turn clockwise until they stop), or the main stopcock if not. Open the tap to drain what is left and confirm the water is actually off — a surprising number of “off” valves still pass water. Put a bowl and towels under the sink, because some water will escape whatever you do. Disconnect the hot and cold supplies from the tap tails, noting which is which (hot is usually left). Then undo the fixing nut that holds the tap to the sink: this is the awkward part, because it is up behind the sink in a cramped space. A basin wrench — a long tool made for exactly this nut — turns a miserable job into a manageable one, and a head torch means you can see what you are doing. Lift the old tap out, clean the sink surface, and check the hole edges for damage or limescale.
Fit the New Tap
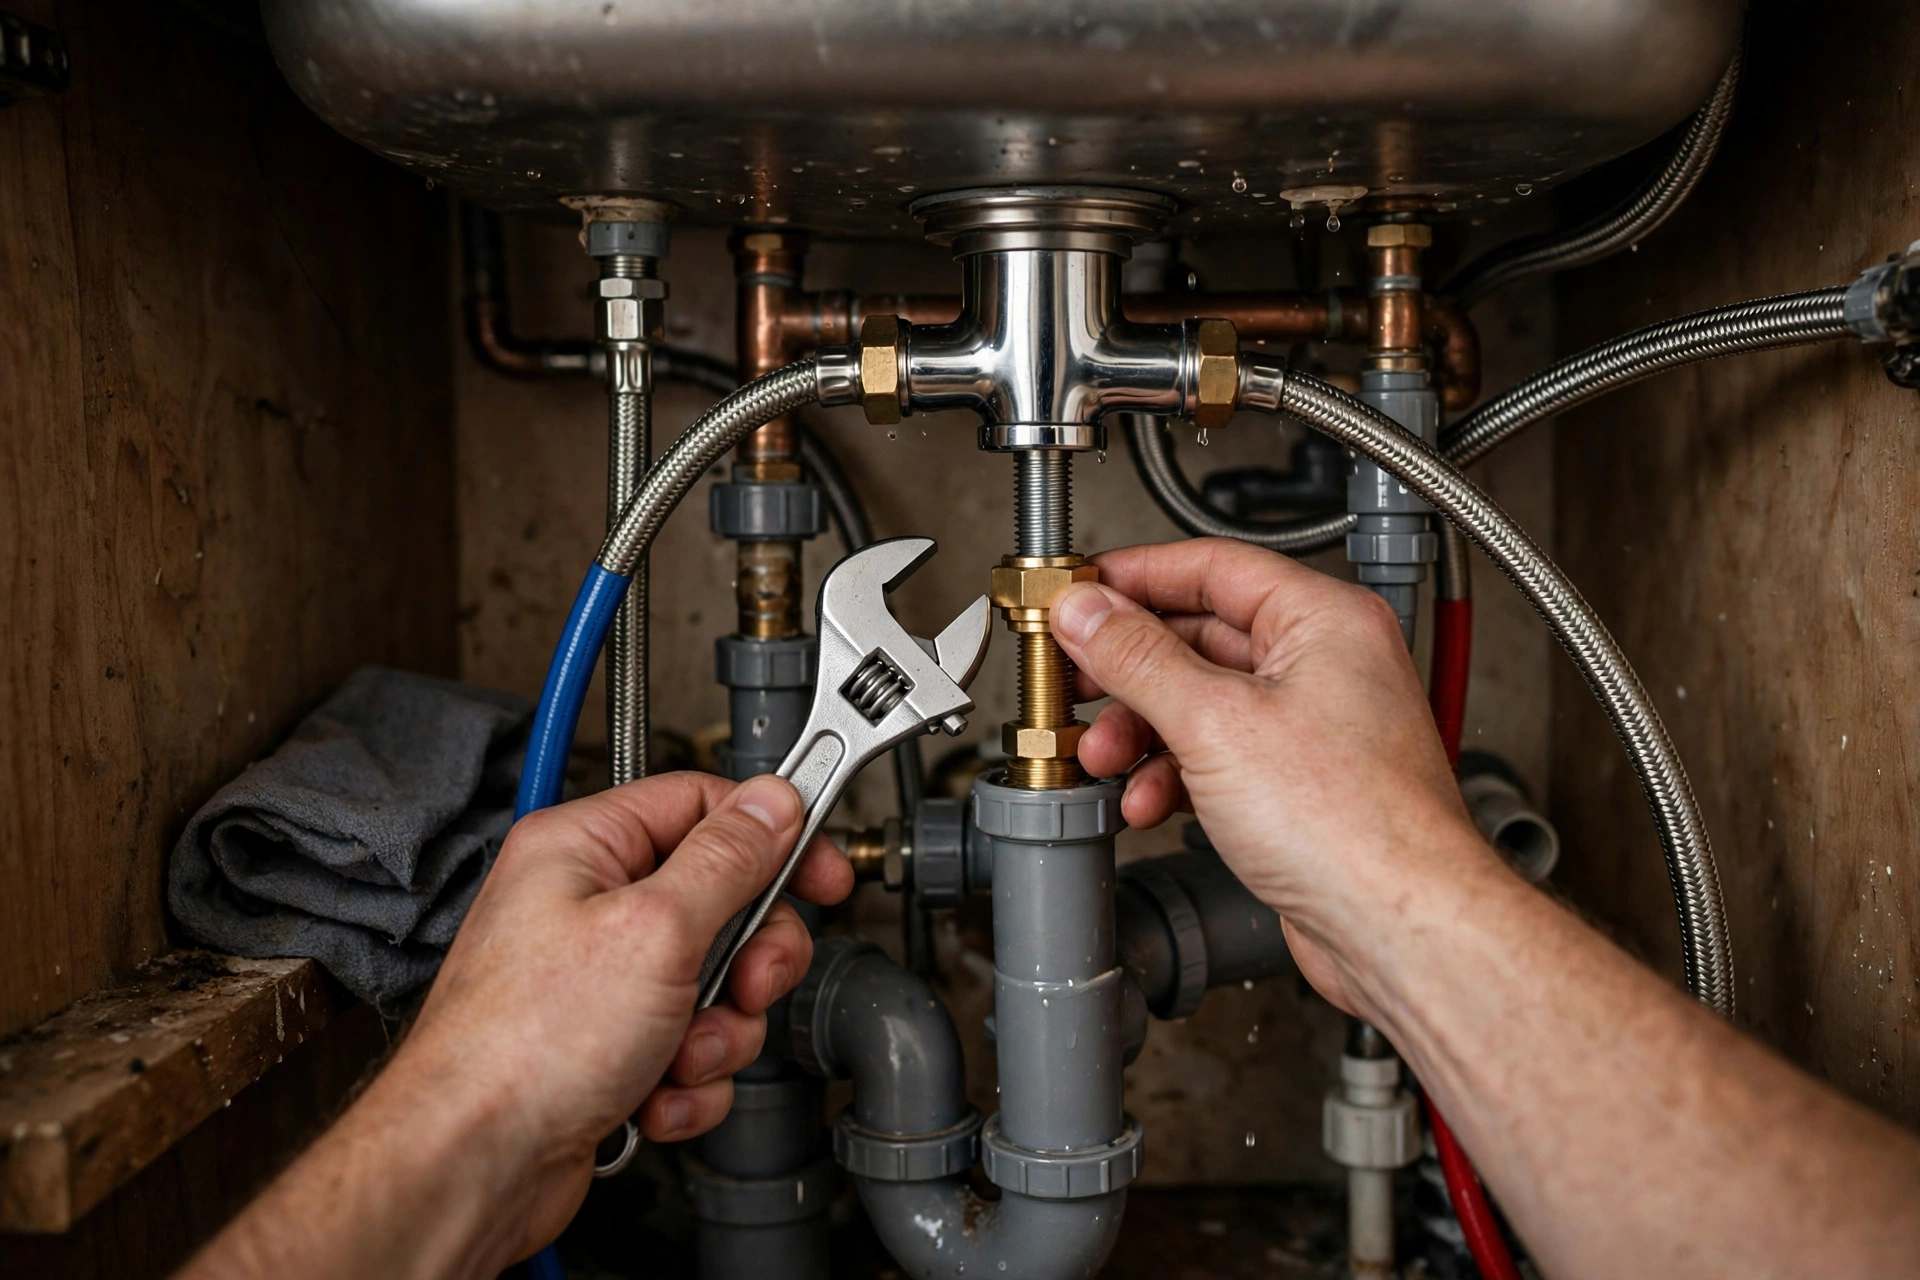
Assemble the new tap on the bench first: fit its flexible hoses, the base seal or washer, and any stabilising plate, following the maker’s instructions. Feed the hoses through the sink hole, seat the tap, and tighten the fixing nut from underneath — snug, not forced: overtightening can crack ceramic sinks. Connect hot to hot and cold to cold, using PTFE tape on threaded joints if the instructions call for it, and hand-tighten plus a quarter-turn with a spanner — overtightened compression joints leak worse, not better. If you fitted new isolation valves, connect to those. Turn the water back on slowly, with the tap open, and watch every joint for drips while the air clears from the pipes. Run both hot and cold for a minute, then close the tap and check again: a dry joint after five minutes is a good joint.
Test, Troubleshoot and Know When to Stop
Common first-time problems are all fixable. A slow drip at a joint usually means the joint needs a fraction more tightening, or the washer is not seated — turn off, reseat, retry. Low flow after fitting usually means debris in the aerator: unscrew the small mesh at the spout tip, rinse it, and refit. A tap that wobbles needs the fixing nut tightened from underneath, sometimes with the stabilising plate the maker supplied. Call a plumber if: the stopcock or isolation valves are seized or broken, the pipework under the sink is corroded or lead, or the sink itself is damaged around the tap hole. Those are not beginner problems, and forcing them floods kitchens. For other bathroom water jobs, the same find-it-first approach applies — see how to fix a leaking shower and how to unblock a sink for the same logic in other rooms.
Frequently Asked Questions
How long does replacing a kitchen tap take?
Most beginners manage in 1–2 hours, including the trip to find the basin wrench. A second pair of hands to hold the tap steady from above halves the fiddling.
Do I need to turn off the whole house’s water?
Only if there are no working isolation valves under the sink. Fit isolation valves while you are there — the next job will be far easier.
What is a basin wrench and do I need one?
A long-handled wrench designed to reach the fixing nut behind a sink. You can manage with an adjustable spanner on some sinks, but a basin wrench costs little and removes most of the frustration.
Why is my new tap’s flow weaker than the old one?
Usually debris in the aerator, a kinked flexible hose, or a tap rated for higher pressure than your system delivers. Check the aerator first — it fixes most cases in two minutes.