Learning how to make compost is the closest thing gardening has to magic. You put in peelings, prunings and fallen leaves — the stuff you would otherwise pay to throw away — and a few months later you take out dark, crumbly, sweet-smelling compost that improves every soil it touches. Plants grow stronger in it, soil holds water better, and your bins stay emptier.
Compost is not difficult, but it does follow rules, and most beginner failures come from breaking just one of them. This guide explains exactly how to make compost at home: the mix that works, what to add and what to keep out, and how to turn waste into rich soil in months rather than years.
What You Need to Start
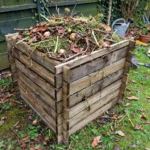
Very little. A compost bin helps — a simple plastic dalek-style bin, a wooden slatted bay, or even a sturdy heap in a corner will do. Site it on bare soil or grass if you can, so worms and microbes can move in from below, in a spot that is not waterlogged and is easy to reach with a full kitchen caddy. You can start with a single bin; add a second later if you get the bug, so one can mature while you fill the other.
The One Rule That Matters: Greens and Browns
Everything you compost falls into two camps, and the balance between them is the whole secret:
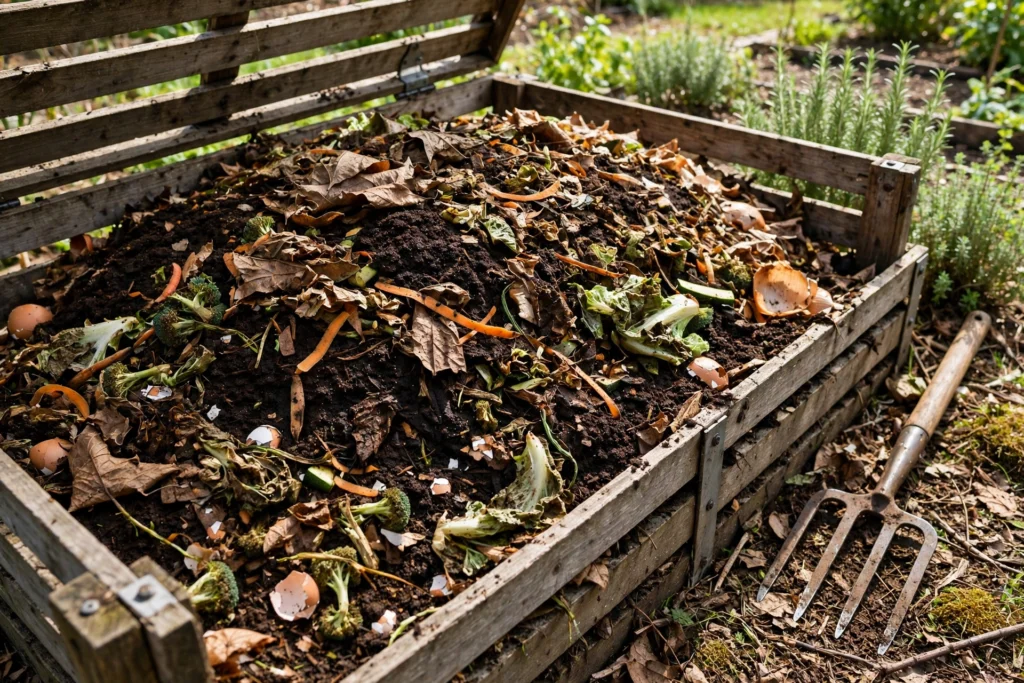
- Greens — wet, nitrogen-rich materials: vegetable and fruit peelings, grass clippings, coffee grounds, tea leaves, fresh plant trimmings, annual weeds before they seed.
- Browns — dry, carbon-rich materials: fallen leaves, straw, shredded cardboard and paper, woody prunings chopped small, wood ash in small amounts, egg boxes.
Aim for roughly half and half by volume — some gardeners say one part greens to two parts browns; anywhere in that range works. Too many greens and the heap turns slimy and smelly; too many browns and nothing happens at all. When you add a caddy of kitchen scraps (greens), add a similar volume of shredded cardboard or dry leaves (browns) at the same time. That single habit prevents nearly every compost problem.
What to Add — and What to Keep Out
Add freely: all raw fruit and vegetable waste, eggshells (crushed), coffee grounds and paper filters, garden trimmings, spent bedding plants, shredded plain cardboard, and fallen leaves.
Keep out: cooked food, meat, fish, dairy and oils (they attract rats and smell), pet waste from cats and dogs, glossy magazines, coal ash, and diseased plant material or perennial weeds with roots and seeds — a home heap rarely gets hot enough to kill them, so they survive to be spread around your garden. Weed leaves without roots or seeds are fine.
Building the Heap, Step by Step
- Start with a layer of coarse material — small twigs or straw — for airflow at the base.
- Add materials in thin alternating layers of greens and browns rather than big dumps of one thing.
- Chop or shred anything bulky. Small pieces rot dramatically faster than whole branches and cabbage stalks.
- Keep the heap as moist as a wrung-out sponge: water it in dry spells, and cover an open heap in wet winters to stop it getting sodden.
- Turn it with a fork every few weeks if you can. Turning is optional, but it mixes materials, adds air, and easily halves the waiting time.
Speed It Up (and Fix Common Problems)
A well-built heap in summer can give usable compost in three to four months; a neglected one may take a year. If yours is slow, the cause is almost always one of three things: too dry (water it), too many browns (add grass clippings or kitchen greens), or pieces too big (chop and turn). A smelly, slimy heap needs the opposite medicine — fork in plenty of dry browns and turn it to get air back in. Fruit flies around the bin are harmless and normal; bury kitchen scraps under a layer of browns and they mostly disappear. Ants suggest the heap is too dry — a good soak usually moves them on.
When Is It Ready, and How Do You Use It?
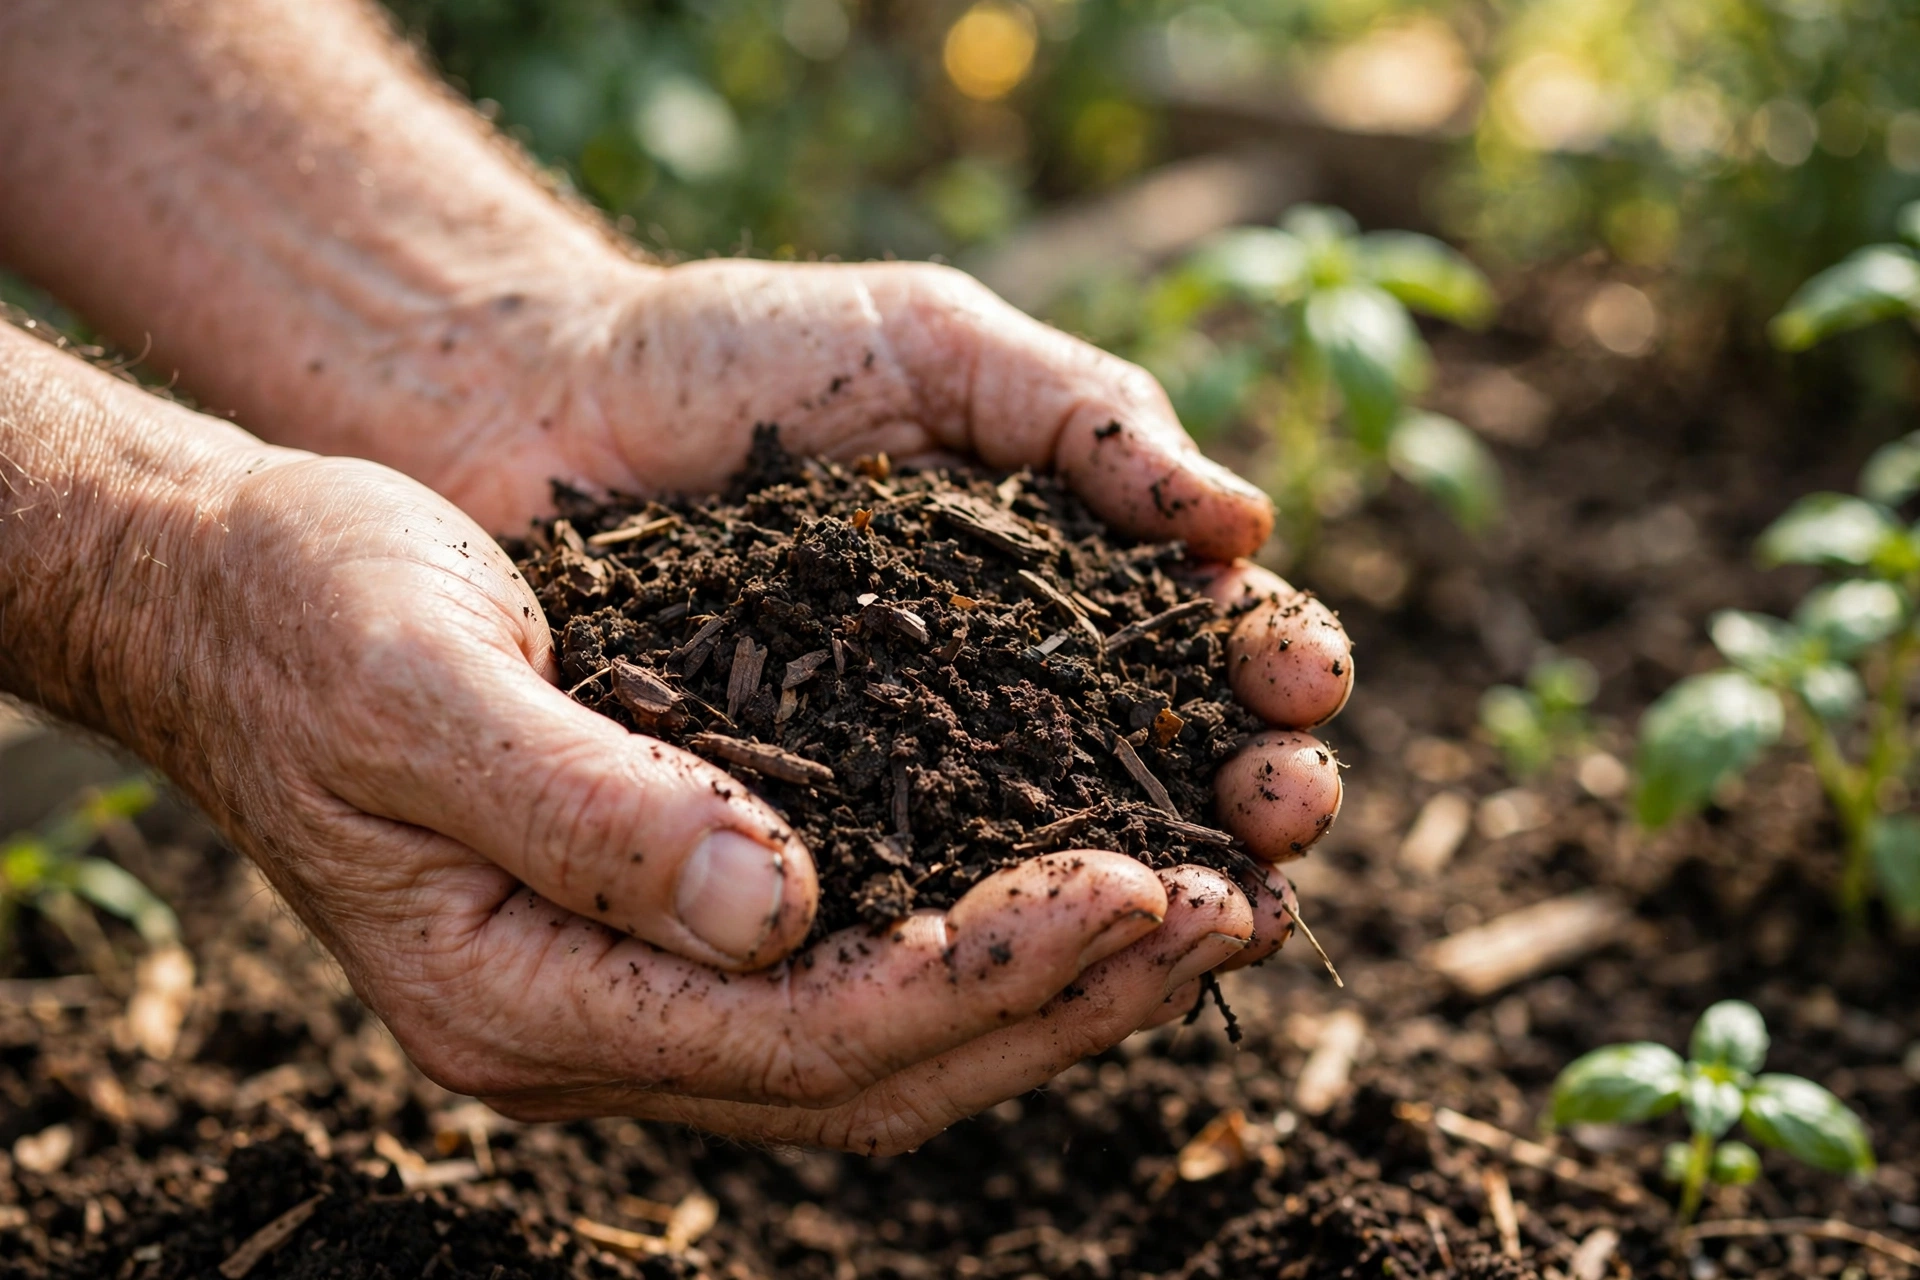
Finished compost is dark brown, crumbly, and smells of woodland floor. You should not be able to recognise anything in it except the odd twig or eggshell fragment, which can go back in for another round. Sieve it if you want it fine, and use it generously: spread it as a mulch around plants, dig it into vegetable beds before planting, mix it into pots (about a third compost to two thirds soil or bought compost), and top-dress the lawn. It is nearly impossible to overdo — the soil life in your garden will simply ask for more next year.
The Bottom Line
To make compost at home you need a bin on soil, a rough half-and-half balance of greens and browns, a little moisture, and patience. Chop things small, keep kitchen waste buried under browns, and turn the heap when you remember. In return you get the single best thing you can give your soil — free, forever, from waste that was heading for the bin.
Frequently Asked Questions
How long does homemade compost take?
Between three months and a year, depending on the mix, the weather and whether you turn it. A balanced, chopped, turned heap in summer is at the fast end; a forgotten corner heap still works, just slowly.
Can I compost in a small garden?
Yes. A single compact bin takes less than a square metre, and a wormery or bokashi bucket can handle kitchen waste on a balcony or even under a sink if you have no garden at all.
Why does my compost smell bad?
Almost always too many wet greens and not enough air. Fork in dry browns — shredded cardboard, leaves or straw — turn the heap, and the smell should fade within days.
Can I put weeds in the compost?
Annual weeds pulled before they set seed are fine. Avoid perennial weeds with roots (bindweed, ground elder, docks) and anything with seed heads, because a home heap may not get hot enough to destroy them.